You can configure the following settings for the Moneris gateway:
- Enable / Disable: Allow customers to use this gateway to checkout.
- Title: The text shown for the payment during checkout and on the Order Received page.
- Description: The text shown under the gateway’s title during checkout. Limited HTML is allowed.
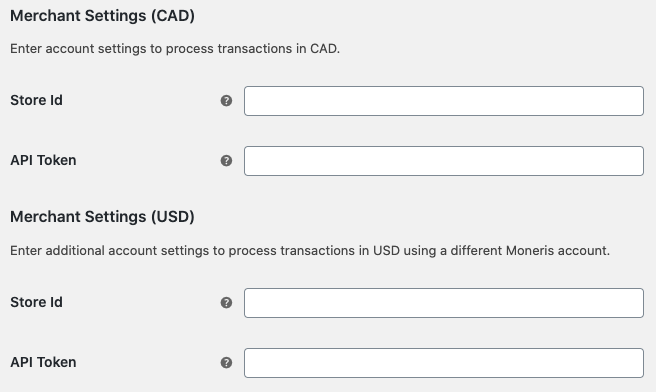
- Multicurrency setup: You can connect to multiple Moneris accounts to route payments based on their currency.
- Transaction Type: Controls how transactions are submitted to Moneris. Defaults to
"Charge" to automatically capture payments. "Authorize" allows you to optionally capture previously authorized transactions directly from the WooCommerce Edit Order screen. Simply edit the order, select the “Capture Charge” action, and charges will be captured through Moneris.
- Sandbox: Switch between
"Production" and "Sandbox" credentials. Enable it to send transactions to your Moneris sandbox account.
- Preferred Cards: Select your desired cards from the multiple-select box. The logo of the selected card(s) will be displayed on the checkout page.
- Statement Descriptor: Enter what customers should see on their bank statements for charges from your store.
- AVS: Address Verification Service (AVS) is an optional fraud-prevention tool offered by issuing banks whereby a cardholder’s address is submitted as part of the transaction authorization. When enabled, you can choose how the gateway should respond in different scenarios based on the street address / zip code matching and address verification results.
You must enable AVS on your Moneris account to use this feature.
- CVD: The Card Validation Digits (CVD) value refers to the numbers appearing on the back of the credit card rather than the numbers imprinted on the front. It is an optional fraud prevention tool that enables merchants to verify data provided by the cardholder at transaction time. When enabled, you can determine how the gateway should respond in different scenarios based on the CSC match / verification results.
- Saved Cards: Enable it to let logged-in customers save payment methods during your checkout process by default to use them in future checkouts
- Logging: Enable it to store warnings, error messages and status information in log file, If you’re having issues processing transactions. As a best practice, please do not enable this setting unless you’re having issues with the plugin.
Moneris Checkout is hosted by Moneris, on a PCI-Compliant infrastructure. This means that the payment page where cardholder data is entered and where the payment is processed and settled is all managed on Moneris secure servers, sensitive cardholder data does not pass through your servers nor is it ever shared with WooCommerce, so there is less risk for you.
Key Features:
- Supports fraud tools including min/max spends, 3-DSecure, Moneris Kount, AVS and CVV.
- Moneris Kount proactively detects fraud before it occurs, using predictive modeling and risk scoring to analyze and assess customers in real-time.
- 3-D Secure provides real-time authentication of an online shopper to their card issuer through Visa® Secure and MasterCard Identity Check®.
- Address Verification Service (AVS) matches the address the customer provided to the address on record with the issuing card bank.
- Card Verification Value (CVV) confirms the customer knows the 3-4 digit code on the card provided, and validates it with what is on record with the issuing card bank.
- Transaction limits control the minimum and maximum dollar amounts that can be charged for any one order submitted by a customer in the checkout.
- Determine whether to allow Moneris to manage auto-decisioning with regards to how transaction requests are handled and processed through your checkout.
- Manage your transactions and how you want to receive your payments through the Merchant Resource Center. Your options include Purchase and Preauthorization.
You can configure the following settings for the Moneris Checkout gateway:
- Enable / Disable: Allow customers to use this gateway to checkout.
- Title: The text shown for the payment during checkout and on the Order Received page.
- Description: The text shown under the gateway’s title during checkout. Limited HTML is allowed.
- Store Id: Unique identifier provided by Moneris upon merchant account setup.
- API Token: Unique alphanumeric string assigned by Moneris upon merchant account activation.
- Statement Descriptor: Enter what customers should see on their bank statements for charges from your store.
- Sandbox: Switch between
"Production" and "Sandbox" credentials. Enable it to send transactions to your Moneris sandbox account.
- Logging: Enable it to store warnings, error messages and status information in log file, If you’re having issues processing transactions. As a best practice, please do not enable this setting unless you’re having issues with the plugin.
- Checkout Id: The first step is to configure your Moneris Checkout page in the Moneris Merchant Resource Center (MRC).
In the initial stage of development, you create a test configuration in the testing MRC. Once the solution is ready to be deployed to production, you must create a new, separate configuration for the production environment in the production Merchant Resource Center (MRC).
The checkout ID is the key value that is generated after the configuration is completed and used within the Preload Request in order to identify the specific Moneris Checkout configuration.
To get the checkout ID and start configuring your page, do the following:
- Log into the Merchant Resource Center at one of the following URLs (according to your stage of development)
Testing: https://esqa.moneris.com/mpg
Production: https://www3.moneris.com/mpg
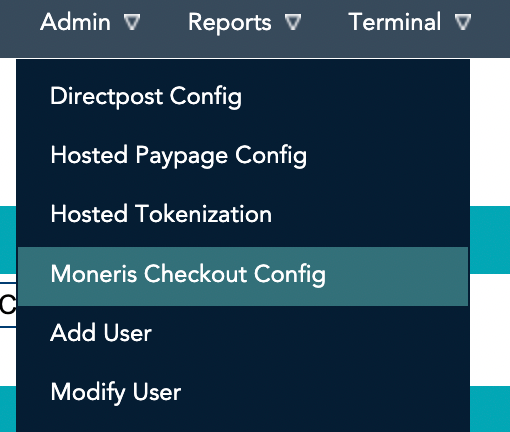
- In the Admin menu, select Moneris Checkout Config.
- Click the Create Profile button.
- Follow the on-screen steps to complete the configuration.
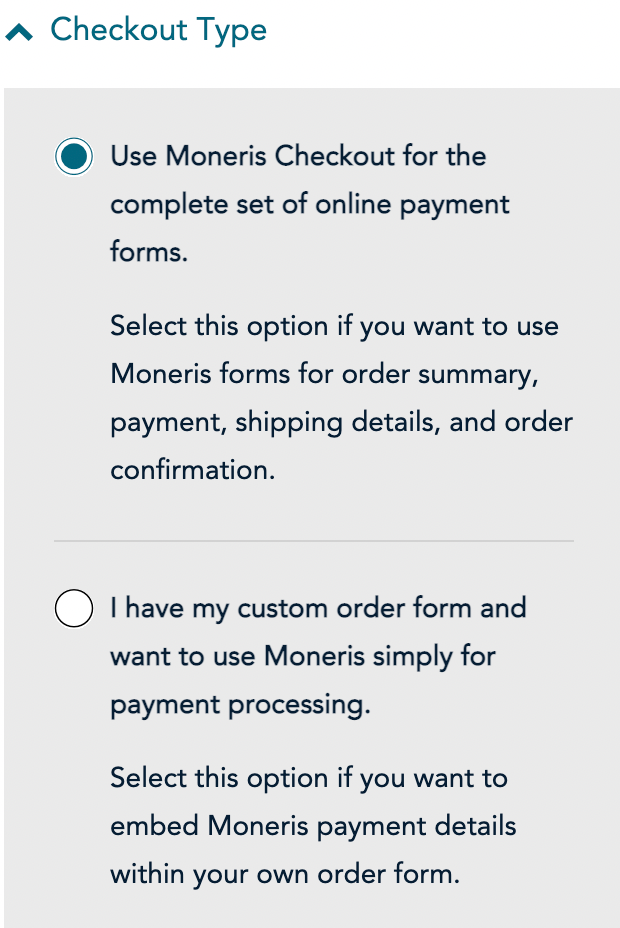
- Under the Checkout Type section, ensure that the Use Moneris Checkout for the complete set of online payment forms radio button is selected, then click the Save button near the top of the screen.
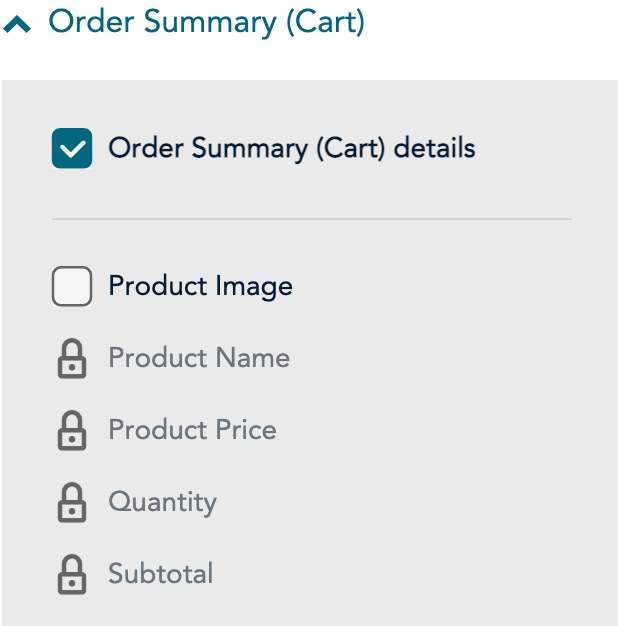
- Scroll down and expand the Order Summary (Cart) section. Ensure the Order Summary (Cart) details and Product Image check boxes are checked.
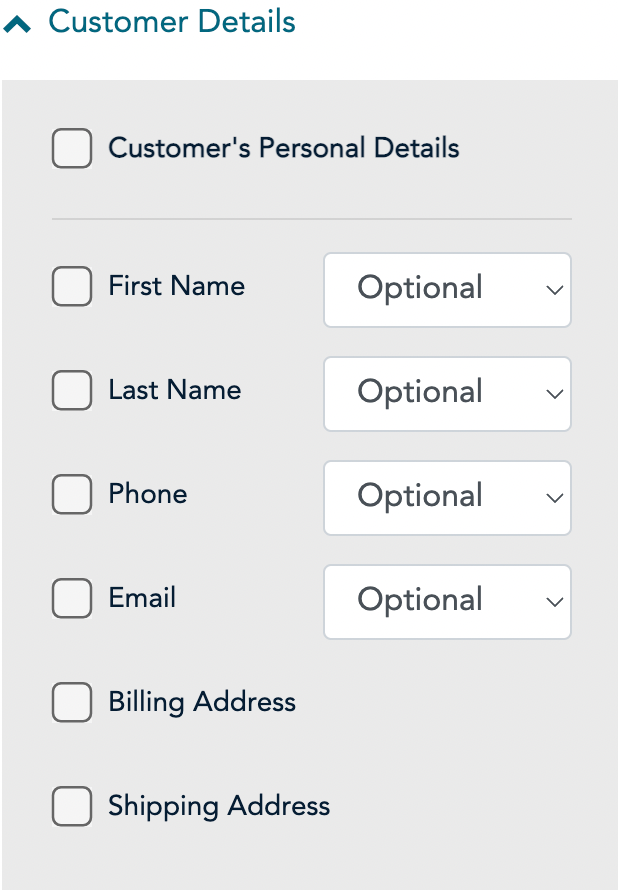
- Scroll down and expand the Customer Details section. In this section, be sure to uncheck all of the checkboxes.
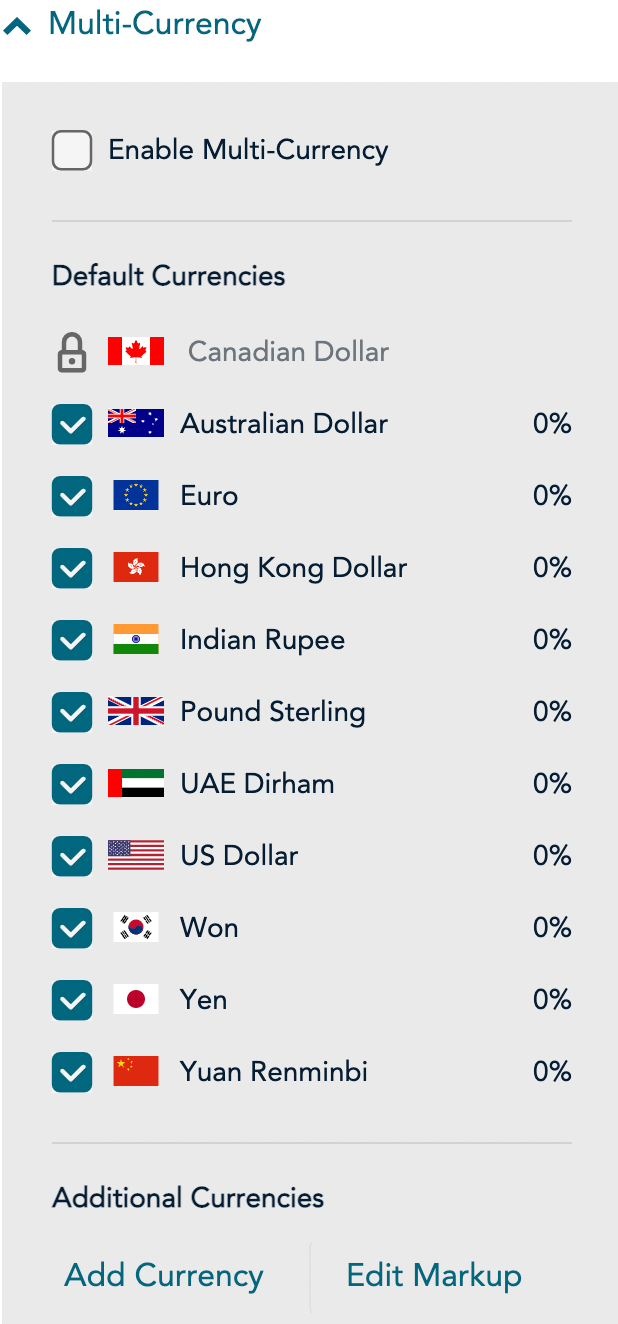
- Scroll down and expand the Multi Currency section:
- Enable/disable Multi-Currency
- Determine if you want to enable geo-location for transactions.
- Enable/disable the default currencies that you want to support in your checkout profile.
- Add/remove other currencies from your list of supported currencies.
Note: Geo-location detects the IP address of customers using your checkout and displays product prices and transaction amounts in the currency corresponding to the country/location in which customers are using the checkout subject to the following restrictions: If a customer’s IP address does not correspond with a currency that your checkout is configured to support, the checkout will display prices and transaction amounts in United States dollars (USD). If a customer’s IP address does not correspond with a supported currency and your checkout is not configured to support USD, the checkout will display prices and transaction amounts in Canadian dollars (CAD).
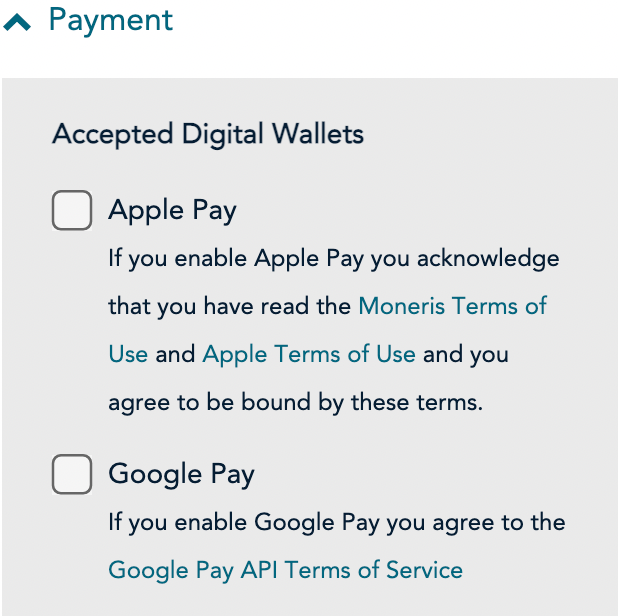
- Scroll down and expand the Payment section.
- Under the Accepted Digital Wallets section enable/disable digital wallet support per your integration requirements.
- Under the Card Logos section enable/disable the display of debit and credit card logos per your integration requirements.

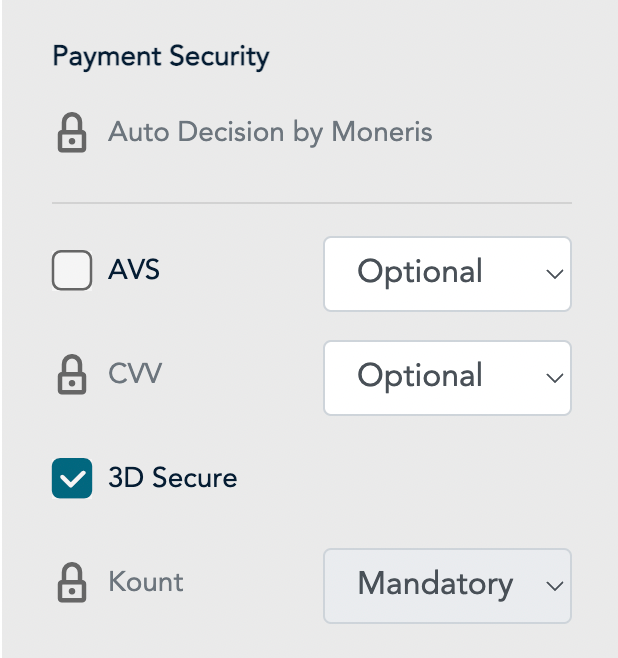
- Under the Payment Security section, select fraud-prevention tools per your integration requirements.
- Determine whether to allow Moneris to manage autodecisioning concerning how transaction requests are handled and processed through your checkout:
Note: Decisions are based on fraud-prevention response codes from supported fraud-prevention tools such as AVS, CVV, 3-D Secure, and Moneris Kount®. Autodecisioning may or may not be configurable from your settings panel, and may be enabled/disabled by default depending on the fraud-prevention features for which your store is enabled.
- Enable/disable each fraud-prevention tool (AVS, CVV, 3D Secure, and Kount) if displayed on your settings panel.
Note: The fraud-prevention tools displayed on your settings panel are dependent on the fraud-prevention features for which your store is enabled. Some fraud-prevention tools may be enabled/disabled by default and may or may not be configurable from your settings panel.
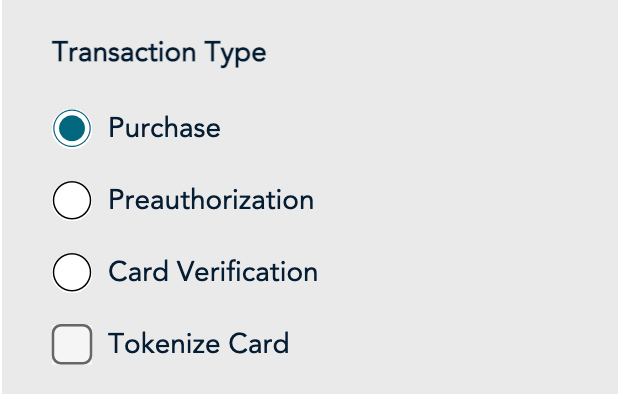
- Scroll down to Transaction Type and select the preferred transaction type:
- To perform purchase transactions, select Purchase.
- To perform pre-authorization transactions, select Preauthorization.
Note: You can select either Purchase or Preauthorization, but not both.
Note: If you selected Preauthorization, a customer’s preauthorization can be completed either through the MRC, or through WooCommerce order edit screen.
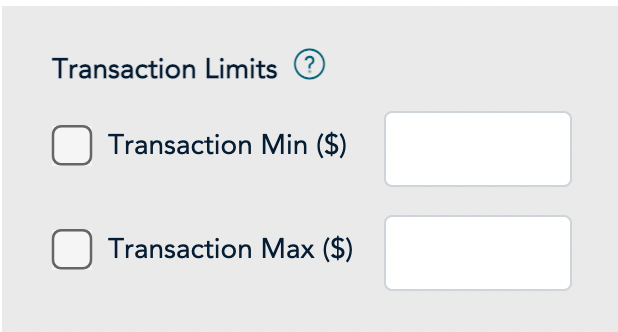
- Under Transaction Limits section enable/disable a minimum and maximum transaction dollar limit type.
- Scroll down and expand the Order Confirmation section.
- Under Order Confirmation Processing, select the Use Moneris option.
- Under the Confirmation Page Content section, select the desired information you wish to be displayed on the confirmation page (when the customer is completing their transaction).
- Scroll down and expand the Email Communications section.
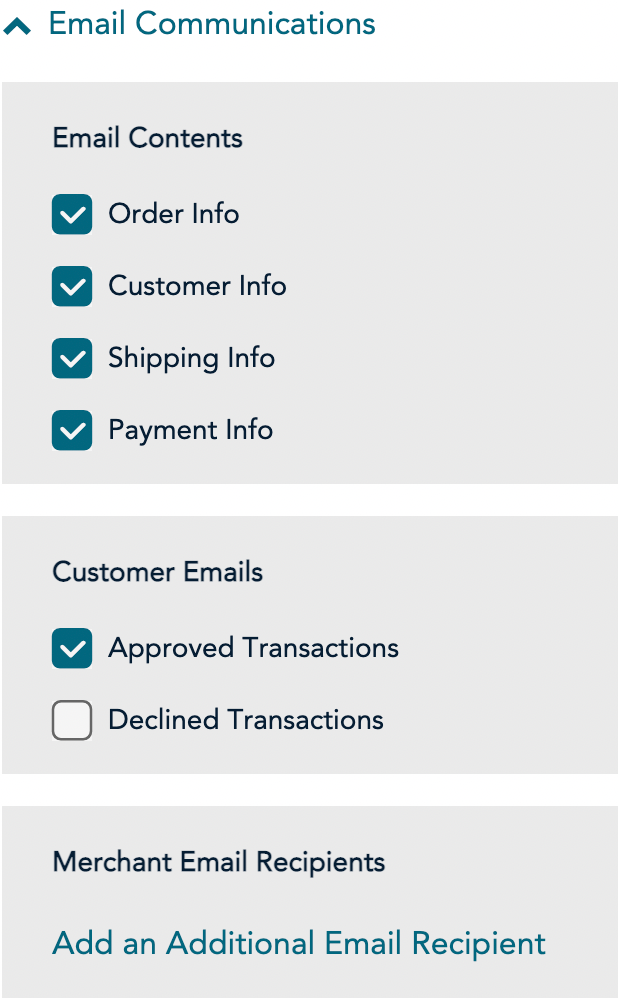
- Under the Email Contents section, select the desired contents that will appear in the order confirmation email the customer will receive.
- Under the Customer Emails section, place a checkmark in the desired checkbox for what event triggers an email to be sent to a customer.
